Web App Hacking: Getting Started with OWASP-ZAP
- OTW
- Oct 16, 2016
- 3 min read
Updated: Nov 18, 2022
Web apps are often the best vector to an organization's server/database, an entry point to their entire internal network. By definition, the web app is designed to take an input from the user and send that input back to the server or database. In this way, the attacker can send their malicious input back to the servers and network if the web app is not properly secured.
OWASP is the Open Web Application Security Project, a vendor-neutral, non-profit group of volunteers dedicated to making web apps more secure. As such, they publish their OWASP Top 10 to showcase the most critical vulnerabilities, and have designed WebGoat, a deliberately vulnerable web application for teaching and testing web app security. As part of this effort, they have also developed the OWASP Zed Attack Proxy (ZAP) tool.
OWASP ZAP is a Java-based tool for testing web app security. It has an intuitive GUI and powerful features to do such things as fuzzing, scripting, spidering, proxying and attacking web apps. It is also extensible through a number of plugins. In this way, it is an all-in-one web app testing tool. OWASP ZAP might even become your go-to web app testing tool once you get the hang of it.
In this tutorial, we will take a look at this powerful and versatile tool.
Step 1: Fire Up Kali
Let's begin in the usual way—by firing up Kali. In this tutorial, I will be using Kali 2.0 as so many of you are now using it, although I still have my reservations. Earlier versions of Kali also have OWASP ZAP, so if you are using those, you can also follow this tutorial.
Step 2: Start OWASP ZAP
If you want to start OWASP ZAP from the command line, you can simply type:
kali > owasp-zap
This should start the application as seen below. It's slow, so be patient.

For those who prefer the GUI approach, go to Applications -> Web Application Analysis -> owasp-zap. Again, be patient, as it will take awhile to load the tool.

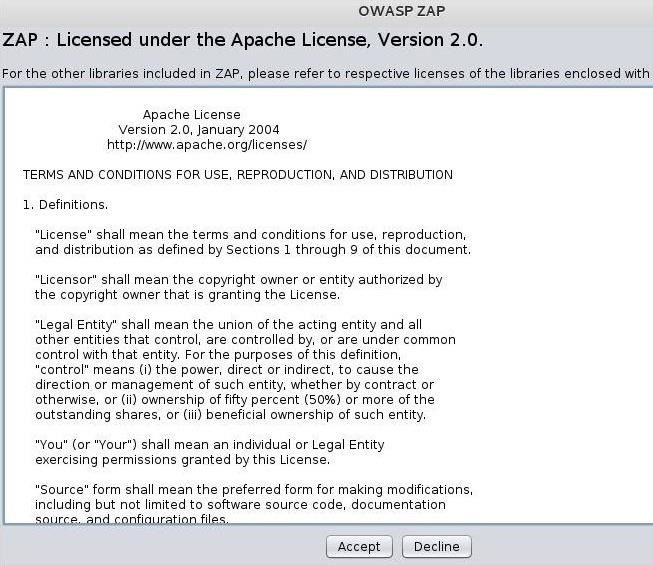
The first thing you will see is the license. Go ahead and accept the terms if you feel comfortable with them. This is a standard Apache license.

Step 3: The OWASP ZAP Interface
When OWASP ZAP eventually opens, it should look like the screenshot below. This tool has many powerful features, but initially, we will only try out its "Attack" function in the large right-hand window. In this mode, OWASP ZAP aggressively goes to the website we designate and begins to look for vulnerabilities.

Step 4: Attacking a Website
In this first tutorial, let's test a website initially left vulnerable and safe to test, webscantest.com. Put the URL in the space next to "URL to attack" and then simply click on the "Attack" button below it.

OWASP ZAP will now begin to spider and test the web application for numerous vulnerabilities.
Step 5: Attack Results & Alerts
When it has completed its work (this can be considerable time for large websites), you should see a screen like that below.

As you can see in the lower left window, OWASP ZAP has sent us 8 alerts. These alerts are categorized by the type of vulnerability. In this case, these are:
Cross Site Scripting
Remote OS Command Injection
Directory Browsing
X-Frame-Options Header Not Set
Cookie set without HttpOnly flag
Password Autocomplete in browser
Web Browser XSS Protection Not Enabled
X-Content-Type-Options Header Missing
Next to each category of alert is a number that represents the number of occurrences of that type of vulnerability. If you click on the arrow next to the alert, it will expand to show you each occurrence of the vulnerability.

In the screenshot above, I first clicked on the alert "Cross Site Scripting" and it opened a window with information on it to the right reflecting the application's assessment of the risk (High) and confidence (Medium). Then, I expanded the alert to show each of the XSS vulnerabilities in this web app.
The next step, of course, is to test each of the reported vulnerabilities to see whether they are real.
Step 6: Install the Proxy into Firefox
For ease of use, we can install the "Plug-n-Hack" extension in Firefox 24 or later browsers (Iceweasel, the default browser in Kali, is a fork of the Mozilla Firefox project). From the Quick Start menu, you can see the "Plug-n-Hack" button. Simply click on it to install the extension into your browser.

Iceweasel will open with the following screen. Go ahead and select "Click to setup!"

You will get a warning like that below; go ahead and click "Allow."

Finally, go ahead and install the add-on to your browser.

Now, you can just use your browser and whatever website you are visiting will be automatically available to the OWASP ZAP application.
In future tutorials, we will further explore the capabilities of this powerful web app testing application, so keep coming back my tenderfoot hackers!


